
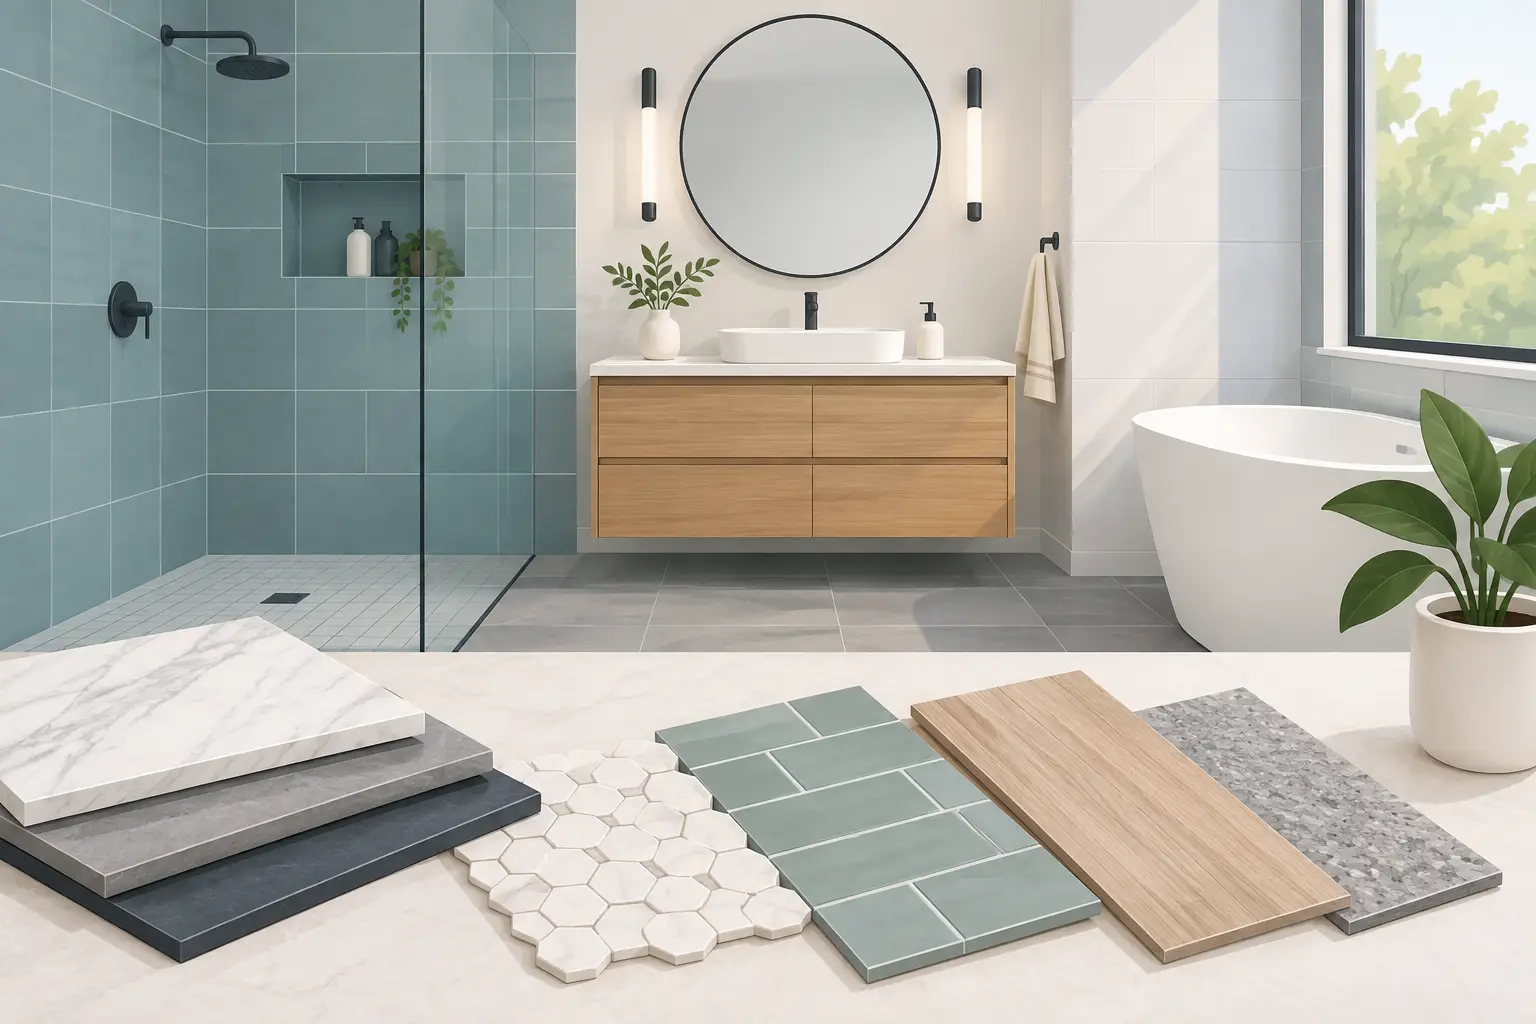
How to Choose Bathroom Tile for a Lasting Remodel
A bathroom tile decision often looks simple from a showroom sample board. Then it has to perform through wet feet, daily cleaning, hard-water residue, changing light, and years of use. Knowing how to choose bathroom tile means looking beyond a color or pattern you like and selecting materials that fit the room, the household, and the scope of your remodel.
The right tile can make a compact bathroom feel more open, give a primary bath a polished finish, and protect walls and floors from moisture. The wrong selection can be slippery, difficult to maintain, poorly proportioned, or costly to replace. A thoughtful plan at the beginning helps protect both your budget and the finished result.
Start With How the Bathroom Will Be Used
Before comparing tile styles, consider who uses the bathroom and where each material will be installed. A guest bathroom with limited use has different demands than a busy family bathroom, a rental property, or a primary suite used every day.
A shower floor needs dependable traction and a material that handles constant moisture. Bathroom walls can accommodate more decorative choices because they do not receive the same foot traffic. The main bathroom floor must balance slip resistance, easy cleaning, and a finish that complements the room’s cabinetry, fixtures, and lighting.
This is also the time to identify practical concerns. Young children, older family members, and anyone with mobility concerns may benefit from a tile with more texture underfoot. If the bathroom connects to a pool area or serves as a high-traffic powder room, durable flooring and easy-care grout become even more important.
How to Choose Bathroom Tile by Location
Not every tile should go everywhere. A coordinated bathroom can use several tile sizes or finishes while still feeling intentional, but each surface needs a material suited to its job.
Shower floors need traction and drainage
Small-format porcelain or ceramic tile is a reliable choice for many shower floors. More grout joints provide additional grip, and smaller pieces conform more easily to the slope leading to the drain. Matte or textured finishes are generally safer than polished tile in this setting.
Large tiles can work in certain shower designs, but they require careful planning around drain placement, floor slope, and cuts. This is not a surface where appearance should take priority over drainage. Water must move efficiently to the drain without pooling, and the tile installation must be supported by proper waterproofing below the finished surface.
Walls allow more design flexibility
Shower walls, tub surrounds, and backsplash areas are good places for larger tile, decorative patterns, or a glossy finish. Large-format wall tile can create a clean, modern appearance with fewer grout lines to maintain. A smaller subway tile can add texture and visual interest, particularly when installed in a vertical stack, herringbone, or offset pattern.
Keep the room’s scale in mind. A dramatic patterned tile can become a strong focal point behind a vanity or inside a shower niche, while using it across every wall may overwhelm a smaller bathroom. In many remodels, one feature surface paired with quieter field tile produces the most balanced result.
Main floors need everyday durability
Porcelain tile is often the strongest all-around option for bathroom floors. It is dense, low-absorption, durable, and available in finishes that resemble stone, concrete, wood, or fabric. Ceramic tile can also be an excellent choice for lighter-use bathrooms when it is rated for floor installation.
Avoid choosing floor tile based only on a photo or a smooth sample. Ask to see the actual finish, walk on a display if possible, and consider how it feels when wet. A highly polished surface may look striking, but it can be less practical for an active household.
Compare Materials Before You Fall in Love With a Look
Porcelain, ceramic, natural stone, glass, and cement-style tile each have a place in bathroom design. The best option depends on maintenance expectations, installation location, and budget.
Porcelain is a dependable favorite for floors and wet areas because it resists water and wear. It is available in a wide range of colors and realistic stone-look designs. Its density can make cutting more demanding, which is one reason skilled installation matters.
Ceramic tile is often more budget-friendly and offers extensive color and style options. It performs well on walls and can work on floors when the product is specifically approved for that use. For a shower or heavily used floor, confirm that the selected ceramic tile has the appropriate durability and slip-resistance rating.
Natural stone brings character that manufactured tile cannot fully duplicate. Marble, travertine, and slate vary naturally from piece to piece, creating a distinctive finish. That beauty comes with maintenance requirements: many stone products need sealing and may be more vulnerable to staining, etching, or moisture-related issues if not installed and cared for correctly.
Glass tile can add light and detail to a shower accent, niche, or backsplash. It is usually best used as a feature rather than a primary floor material. Cement-style and encaustic-look tile can create a memorable pattern, but homeowners should understand its cleaning and sealing needs before committing.
Consider Size, Color, and Layout Together
Tile size changes the visual scale of a bathroom. Large-format tile can make a room feel calmer and more expansive because there are fewer grout lines. It also requires flatter surfaces and precise layout work. In an older home, walls and floors may need preparation before large tile can be installed correctly.
Smaller tile adds detail and can make irregular spaces easier to tile, especially around shower floors, niches, and curved edges. The trade-off is more grout. If low maintenance is a priority, choose a size and layout that does not create more grout joints than the room needs.
Color deserves the same practical consideration. Light tile can make a bathroom feel brighter but may show dirt or hair more readily. Very dark tile can look sophisticated, yet it may reveal mineral spots from Arizona’s hard water. Mid-tone tile and grout often offer the most forgiving balance for daily use.
Do not select tile under showroom lighting alone. Take samples home and view them in morning light, evening light, and with the bathroom’s planned vanity and paint colors. A warm white tile can look very different next to cool gray cabinetry or brass fixtures.
Treat Grout as Part of the Design
Grout is not an afterthought. Its color, width, and material affect the finished appearance and the amount of cleaning required. A grout that closely matches the tile creates a quieter, more continuous surface. Contrasting grout highlights the pattern and shape of each tile.
For most bathroom floors and shower areas, a quality grout selected for moisture resistance is a practical investment. Lighter grout can brighten the room, while medium or darker tones are often easier to keep looking clean. Very wide grout joints may suit handmade or rustic tile, but they can add maintenance in a high-use bathroom.
Caulk, not grout, should be used where tile planes meet, such as wall corners and the joint between a tub and tile surround. These areas move slightly over time, and the correct flexible joint helps prevent cracking.
Build a Realistic Tile Budget
The price on the tile tag is only one part of the project cost. A complete bathroom tile budget should account for surface preparation, waterproofing, underlayment, setting materials, grout, trim pieces, demolition, labor, and waste from cuts. Complex patterns, large-format tile, natural stone, and detailed shower work typically require more labor than a straightforward installation.
Ordering enough material matters. Most projects need extra tile for cuts, layout adjustments, and future repairs. The amount varies based on the room shape and tile pattern. A simple grid layout may need less overage than herringbone or diagonal installation.
A lower-cost tile is not always the better value if it creates expensive installation challenges or will need replacement sooner. The goal is a finish that fits your budget while performing well for the life of the remodel.
Review Samples and the Installation Plan Before Ordering
Before materials are ordered, confirm the tile layout, grout color, trim details, and transitions to adjacent flooring. Ask where full tiles will begin, where cuts will fall, and how the installation will finish at shower niches, curbs, and doorways. These details are what separate a tile selection that looks good in a box from a bathroom that feels complete.
D3 Construction helps homeowners make these decisions within a clear remodeling plan, from the initial site assessment through construction and final walkthrough. Professional guidance is especially valuable when a bathroom requires waterproofing upgrades, subfloor repairs, or layout changes behind the finished tile.
Choose tile that supports the way you live, not just the look you saved for inspiration. When material performance, safe footing, maintenance, and installation details are considered together, your bathroom can feel polished on day one and remain dependable for years to come.