
How to Repair Drywall Cracks That Keep Coming Back
A hairline crack above a doorway can look minor until it reappears through fresh paint a few months later. Knowing how to repair drywall cracks starts with more than applying joint compound. A durable repair depends on identifying why the crack formed, preparing the surface correctly, and using the right material for the size and location of the damage.
For Mesa-area homes, normal settling, temperature changes, dry indoor conditions, and framing movement can all contribute to drywall cracks. Many are cosmetic and manageable. Others may point to moisture, structural movement, or a failing drywall joint that deserves a closer assessment before repairs begin.
Start by Identifying the Type of Drywall Crack
The shape, width, and location of a crack provide useful clues. A thin, straight crack along a wall or ceiling seam often means the drywall tape has loosened or the joint compound has failed. This is common where two drywall panels meet and usually can be repaired without replacing the wallboard.
Small cracks above doors, windows, and corners are also common. Openings interrupt the framing, so those areas experience more movement than a solid wall. Seasonal expansion and contraction can make a previously repaired crack return if the repair was too rigid or the underlying movement was not addressed.
A crack that is wider than about 1/8 inch, runs diagonally from a window or door corner, or keeps growing should not be treated as a simple cosmetic issue. The same is true when cracks appear alongside sticking doors, uneven floors, gaps at trim, or new exterior wall cracks. These conditions can indicate foundation settlement, framing movement, or another building issue that should be evaluated before drywall is repaired.
Moisture changes the approach completely. Yellow staining, soft drywall, peeling paint, or a musty odor near a crack may signal a roof, plumbing, window, or HVAC leak. Repair the source of the water first. Covering damp drywall with compound and paint only delays a larger repair.
Tools and Materials for a Lasting Repair
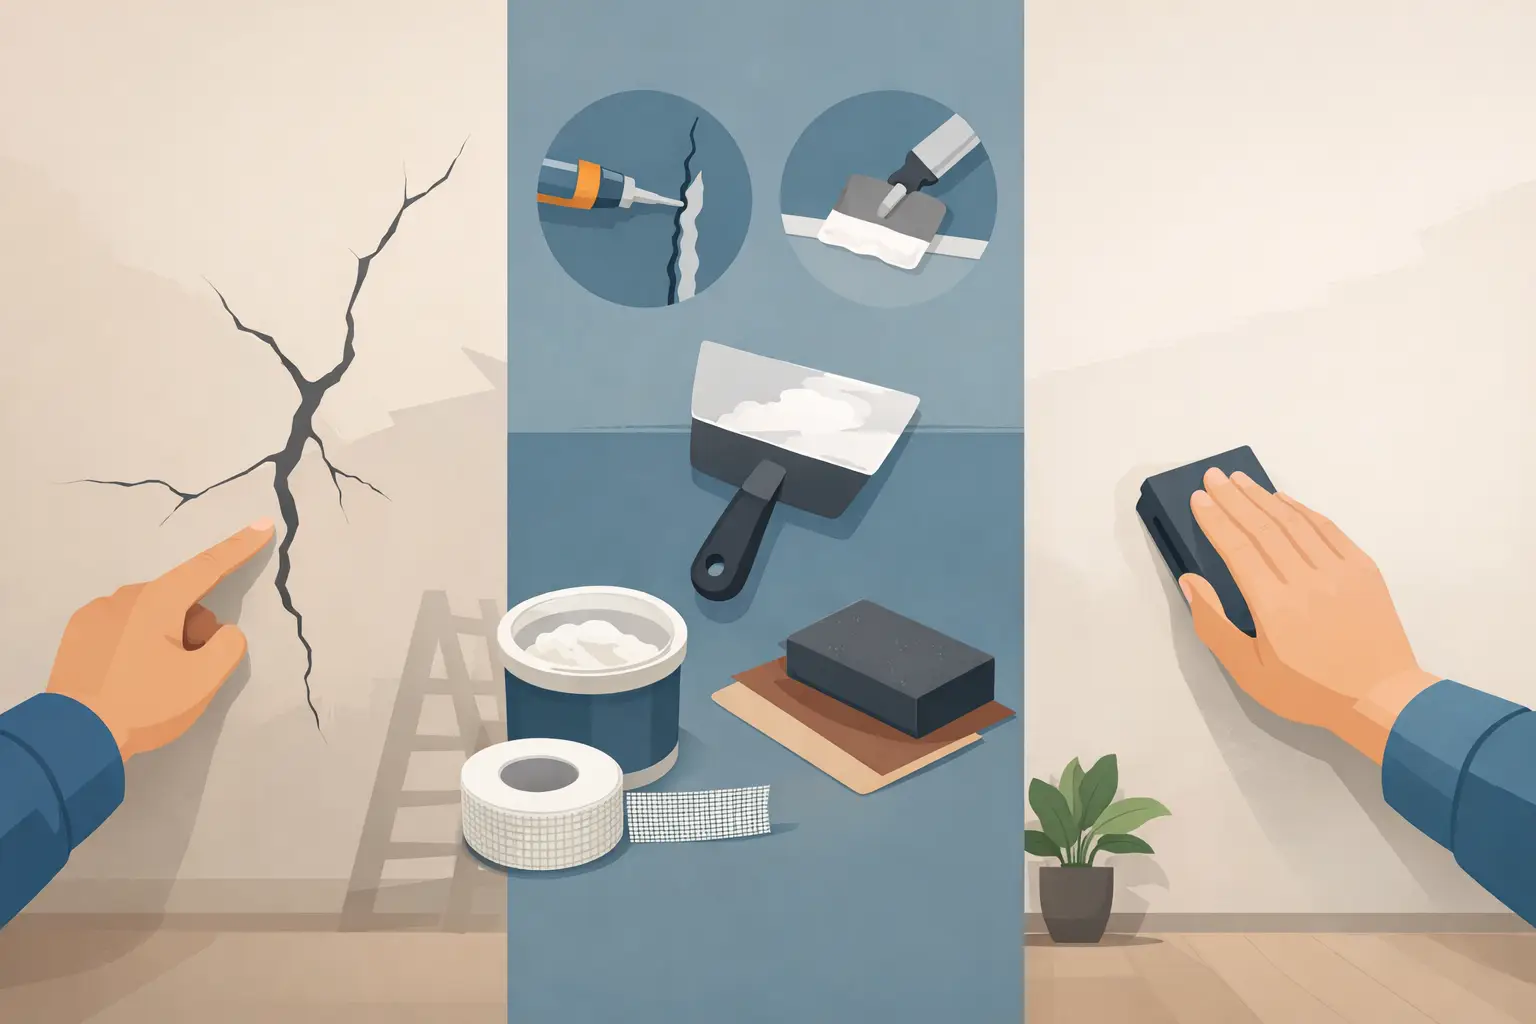
For a typical hairline crack or failed drywall seam, you will need a utility knife, sanding sponge or fine-grit sandpaper, drywall joint compound, a flexible putty knife or taping knife, drywall tape, primer, and matching paint. A wider knife, usually 6 to 10 inches, makes it easier to feather the compound beyond the repair so the finished wall does not show a raised line.
Paper drywall tape creates a strong joint when installed properly, while fiberglass mesh tape is convenient and works well for many small repairs. For cracks that have repeatedly returned, paper tape set in joint compound often provides a more reliable finish. The proper choice can depend on the crack, the condition of the existing joint, and how much movement the area receives.
Use setting-type joint compound for deeper fills or repairs that need additional strength, especially in larger gaps. Premixed finishing compound is easier to spread and sand for the final coats. There is a trade-off: fast-setting products save drying time but require more confidence because they harden quickly.
How to Repair Drywall Cracks Step by Step
Open and clean the damaged area
Do not simply spread compound over a closed crack. Use a utility knife to lightly widen the crack into a shallow V-shape. This removes loose material and gives the compound a clean surface to grip. If the crack follows an old seam, scrape away any loose tape, bubbling compound, or flaking paint.
Vacuum or wipe away dust before applying new material. A clean surface improves adhesion and helps prevent the patch from lifting later. Take care not to cut deeply into wiring, plumbing, or other components hidden inside the wall.
Reinforce the crack with tape
Apply a thin, even layer of joint compound over the crack, extending several inches beyond each side. Press drywall tape into the wet compound, then use the taping knife to remove excess material and eliminate air pockets. The tape should lie flat without wrinkles or lifted edges.
For an inside corner crack, use pre-folded paper tape or corner tape designed for that location. Corners move differently than flat wall seams, and a flat patch over the surface is more likely to fail.
Build the repair in thin coats
After the taped area dries, apply a second coat of joint compound with a wider knife. Feather the edges outward so the patch gradually blends into the surrounding wall. Thick compound may seem faster, but it shrinks, takes longer to dry, and is more likely to crack or require heavy sanding.
Allow each coat to dry fully according to the product instructions. Arizona heat can speed surface drying, but a patch may still hold moisture underneath. Rushing the next coat can trap moisture and weaken the finish.
Apply a final skim coat as needed to remove any visible tape edge or shallow low spot. The goal is not to build a thick mound over the crack. The goal is to create a broad, smooth transition that disappears once primed and painted.
Sand, inspect, and prime
Sand the dry repair lightly with a fine-grit sanding sponge. Use a work light held at an angle across the wall to reveal ridges, dips, and sanding marks. This simple check catches imperfections that overhead lighting can hide until after paint is applied.
Wipe away sanding dust, then apply a quality drywall primer. Primer seals the porous joint compound so the repaired area does not absorb paint differently from the rest of the wall. Skipping this step often leaves a dull or flashing patch that is visible even when the color match is correct.
Finish with paint that matches the existing sheen as well as the color. Flat paint is generally forgiving on walls and ceilings, while eggshell, satin, and semi-gloss finishes can reveal uneven patching. If the paint is older or faded, painting the full wall from corner to corner may produce a more consistent result than touching up only the repair.
Common Mistakes That Make Cracks Return
The most common mistake is patching the surface without tape or without removing loose material first. Joint compound alone is not designed to bridge an active drywall seam for the long term. Another frequent problem is applying a single heavy coat, which can shrink and leave a visible depression as it dries.
Painting before compound and primer have fully cured can also lead to poor adhesion, uneven sheen, or a repair that telegraphs through the finish. Finally, homeowners sometimes repair the wall before investigating a leak, loose framing, or movement around a door or window. A clean patch cannot solve an unresolved cause.
When a Drywall Crack Needs Professional Attention
Professional repair is a practical choice when damage is extensive, ceilings are involved, textured finishes need to match, or the cause is uncertain. Ceiling work is especially difficult because loose tape and cracks can extend farther than they first appear. Textures such as orange peel, knockdown, or hand-applied finishes require careful blending to avoid an obvious patch.
Call for an assessment when cracks repeatedly return in the same place, spread across several rooms, or appear with signs of moisture or structural change. A qualified contractor can inspect the surrounding framing, identify whether repairs are cosmetic or more involved, and provide a clear scope before work begins.
For homeowners who want one accountable team from assessment through final paint touch-up, D3 Construction can evaluate drywall damage, address related repairs, and complete the work with attention to the details that make a finished wall look whole again. A properly repaired crack should fade into the background, leaving your home looking cared for and giving you confidence that the issue was handled at its source.