
How to Choose Kitchen Lighting for Your Remodel
A kitchen can have beautiful cabinets, durable countertops, and a well-planned layout, yet still feel unfinished if the lighting is wrong. Knowing how to choose kitchen lighting means planning for the way your household actually uses the room: preparing meals before sunrise, helping with homework at the island, hosting friends, and cleaning up after dinner.
For Mesa-area homeowners, lighting also has to work with Arizona’s strong natural sunlight. A kitchen that feels bright at noon may feel shadowy at night, while a room with too many high-output fixtures can feel harsh after dark. The right plan brings together comfort, visibility, energy efficiency, and a finished look that supports the entire remodel.
Start With Layers, Not a Single Fixture
The most dependable kitchen lighting plans use layers. Each layer has a job, and together they make the room flexible enough for daily routines and entertaining.
Ambient lighting provides overall illumination. Recessed ceiling lights, flush-mount fixtures, or a central ceiling fixture can establish a comfortable base level of light throughout the room. This is the layer that keeps pathways, cabinets, and general activity areas visible.
Task lighting focuses on the places where precision matters. Countertops, sinks, cooktops, and food-prep areas need direct, even illumination. Under-cabinet lighting is one of the most useful additions in a kitchen because ceiling fixtures can cast your body’s shadow onto the counter while you work.
Accent lighting is optional, but it can give a renovated kitchen more depth and warmth. Interior cabinet lighting, toe-kick lights, or lighting over open shelves can highlight finishes without becoming the primary source of light. It works especially well in kitchens with a backsplash, display cabinetry, or an island that serves as a visual focal point.
A single dramatic pendant may look good in a photo, but it cannot replace functional task lighting. Likewise, a ceiling filled with recessed lights may be bright but still feel flat. The goal is not simply more fixtures. It is light in the right locations, controlled in the right way.
How to Choose Kitchen Lighting by Work Zone
Before selecting fixture styles, look at the kitchen in zones. A detailed layout helps prevent a common remodeling mistake: choosing lights after cabinet placement, appliance locations, and ceiling details have already been finalized.
Countertops and prep areas
Countertops deserve the strongest task lighting. LED strips or low-profile puck lights installed beneath upper cabinets can illuminate the full work surface with minimal glare. Continuous LED fixtures generally create a cleaner, more even result than isolated lights with dark gaps between them.
If your kitchen has no upper cabinets in a particular area, recessed fixtures may be needed. Their placement matters. A recessed light centered in the room may sit behind the person using the counter, creating shadows exactly where you need visibility. Positioning fixtures closer to the front edge of the counter usually provides better coverage.
The kitchen island
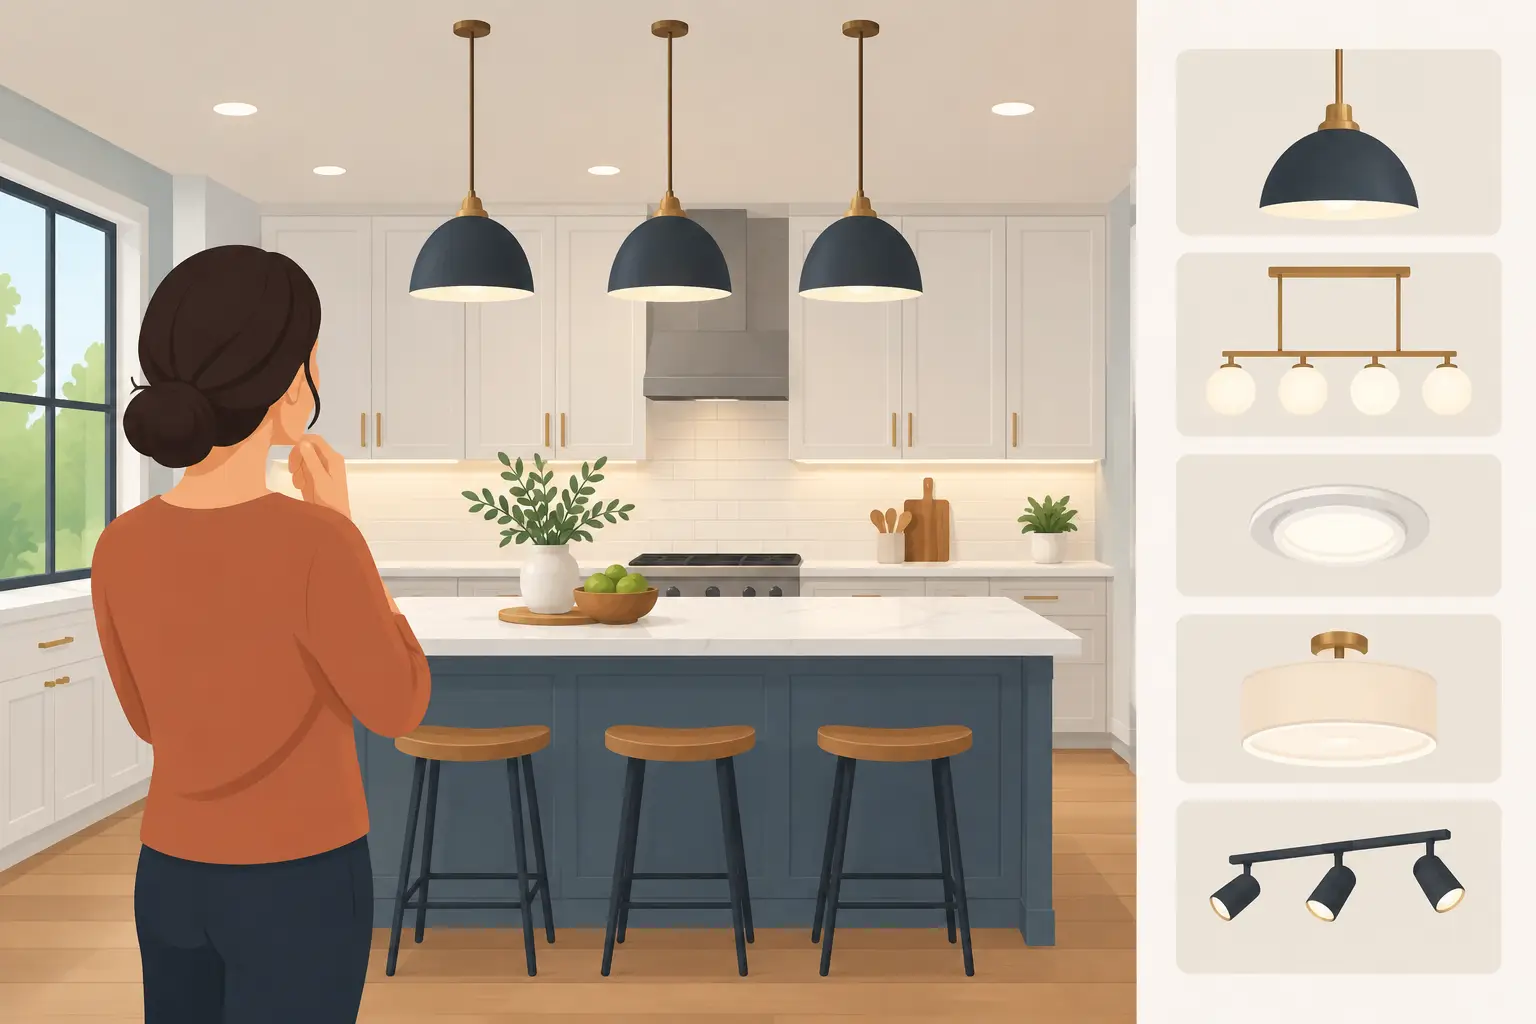
An island often serves several purposes at once: food preparation, casual dining, storage, and gathering space. Pendant lights can define this area and add personality, while recessed or under-counter lighting can support function.
The right number of pendants depends on the island’s length, the size of each fixture, and ceiling height. Two or three pendants are common, but oversized fixtures can make a modest island feel crowded. Leave enough visual breathing room between fixtures and make sure they do not block sightlines across the kitchen.
For most islands, pendants should hang high enough to avoid interfering with conversation and daily movement, while still feeling connected to the surface below. Adjustable mounting heights and dimmers provide useful flexibility when the island is used for both prep work and entertaining.
Sink and cooktop areas
A sink centered beneath a window benefits from daylight, but it still needs dedicated lighting for evening cleanup. A recessed light, small ceiling fixture, or carefully placed pendant can work well, depending on the ceiling and window layout.
Cooktops require clear lighting, but the range hood may already include task lights. Consider that lighting as part of the overall plan rather than adding fixtures that create glare on stainless steel, glossy tile, or polished countertops. The best solution depends on the hood style, ceiling height, and surrounding cabinetry.
Dining and adjacent spaces
Open-concept homes need lighting that helps each area feel connected without making every space identical. A dining fixture can create a comfortable transition between the kitchen and living area, especially when it is on its own dimmer. Matching every fixture exactly is not necessary. Coordinated finishes, scale, and color temperature usually create a more intentional result.
Choose the Right Brightness and Color Temperature
Fixture appearance gets attention first, but bulb quality and output determine how the kitchen feels every day. LED lighting is a practical choice for most remodels because it uses less energy, produces less heat than older bulbs, and offers a wide range of color and dimming options.
Brightness is measured in lumens, not watts. The needed amount varies based on kitchen size, cabinet color, window placement, ceiling height, and surface finishes. Dark cabinetry, matte finishes, and limited natural light typically require more illumination than a white kitchen with broad windows and reflective surfaces.
For most homes, a warm-to-neutral white color temperature works best in a kitchen. Around 2700K feels warm and residential, while 3000K offers a clean, comfortable light that suits many modern kitchens. A 3500K light can feel brighter and more neutral, which may appeal in contemporary spaces or kitchens with cooler finishes. Very cool lighting can make a home kitchen feel clinical and may distort the warmth of wood cabinets and paint colors.
Color rendering is equally important. Look for a Color Rendering Index, or CRI, of 90 or higher when possible. High-CRI lighting helps food, flooring, paint, and countertop materials appear closer to their true colors. This is especially valuable when evaluating a new backsplash or preparing meals.
Plan Controls That Fit Real Life
A well-lit kitchen should not have only one switch that turns everything on at full brightness. Separate controls allow you to use each lighting layer as needed. For example, recessed lights, pendants, under-cabinet lights, and dining fixtures can each be controlled independently.
Dimmers are one of the most worthwhile upgrades in a kitchen remodel. They provide bright light for cooking and cleaning, then a softer setting for dinner or late-night use. Make sure the dimmer, LED bulbs, and fixture drivers are compatible. Incompatible components can cause flickering, buzzing, or a limited dimming range.
Smart controls can be useful for homeowners who want schedules, voice control, or the ability to adjust lights from a phone. They are not required for a successful lighting plan, though. A simple, clearly labeled set of quality switches is often the most reliable choice for a busy household.
Balance Style With Scale and Maintenance
Kitchen fixtures should support the design without becoming difficult to live with. Large statement pendants can be striking, but they may overwhelm a low ceiling or create a cleaning challenge above an active island. Glass shades show dust and cooking residue more readily than some other materials. Open fixtures may provide broader light but can require more frequent cleaning.
Finish selection should also be considered in the context of the whole kitchen. Matte black, brushed nickel, brass, and bronze can all work well, but the fixture finish should relate to cabinet hardware, faucets, appliances, and surrounding rooms. Perfect matching is less important than a deliberate combination.
Recessed lighting deserves the same attention to detail as decorative fixtures. Trim style, housing type, beam spread, and placement all affect the finished result. In a remodel, the ceiling structure and existing wiring may influence which fixtures can be installed efficiently. A site assessment before final selections helps avoid costly changes later.
Coordinate Lighting Early in the Remodel
Lighting is easiest to plan before drywall is repaired, cabinets are installed, or ceilings are finished. During the design phase, confirm appliance locations, island dimensions, upper cabinet placement, ventilation needs, and ceiling details. This allows the electrical plan to support the kitchen rather than force compromises after construction begins.
Professional installation matters, particularly when circuits are added, fixtures are relocated, or wiring is updated. Electrical work may require permits and inspections depending on the scope and local requirements. Working with a qualified contractor and licensed electrical professional helps ensure the plan is safe, functional, and aligned with the project’s requirements.
At D3 Construction, lighting decisions are considered alongside the full kitchen plan, including layout, cabinetry, finishes, and construction scheduling. That coordinated approach helps homeowners avoid last-minute fixture changes and create a space that feels complete when the final walkthrough begins.
The best kitchen lighting does not call attention to itself every minute of the day. It simply makes the room easier to cook in, more comfortable to gather in, and more enjoyable to come home to.