
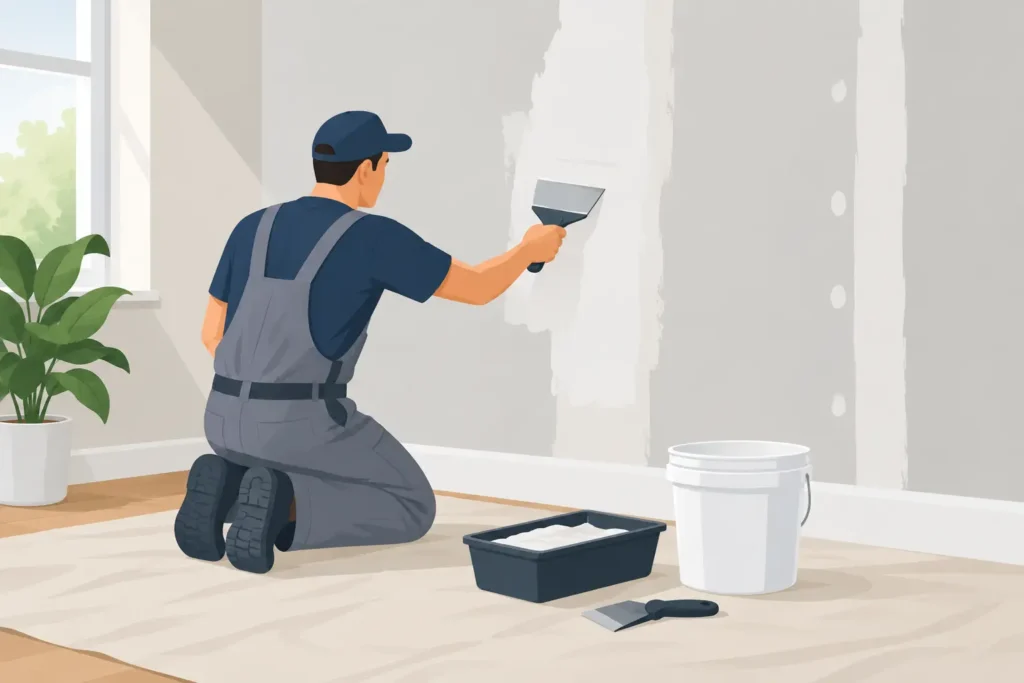
A small crack beside a doorway or a soft spot beneath a window can change the way an entire room feels. More importantly, those marks can point to moisture, movement, or past work that needs closer attention. Professional drywall repairs address the visible damage while helping property owners understand what caused it, so the finished wall looks clean and stays that way.
For homeowners and commercial property managers in Mesa and across the East Valley, drywall damage is rarely just an appearance issue. Arizona’s dry climate, seasonal monsoon moisture, plumbing leaks, settling, and everyday wear can all leave their mark on interior walls and ceilings. The right repair begins with a careful assessment, not a quick coat of spackle.
When Drywall Damage Needs More Than a Patch
Tiny nail holes and minor scuffs are often straightforward cosmetic fixes. A properly applied patch, light sanding, and touch-up paint may be all that is needed. Larger damage, however, requires a different level of planning and workmanship.
Cracks that return after being repaired may indicate normal seasonal movement, but they can also reveal framing movement or a structural concern. Water stains, bubbling paint, soft drywall, or a musty odor require attention to the moisture source before any wall repair begins. Covering damaged material without correcting a leak can lead to more extensive repairs later.
Holes from door handles, furniture impacts, or removed fixtures can also be more involved than they first appear. If the opening is large, the repair needs solid backing or a replacement section of drywall. Without proper support, the patched area may flex, crack around the edges, or show through after painting.
Ceiling damage deserves particular care. Sagging drywall, widening seams, or staining around a ceiling fixture can be connected to a roof leak, plumbing issue, or insulation problem. A durable result depends on identifying the source, allowing the area to dry when needed, and replacing compromised material rather than trying to hide it.
Common Causes of Drywall Repairs in Arizona Homes
Drywall is a durable finish material, but it is not designed to resist prolonged water exposure or significant impact. In local homes, plumbing leaks are among the most common causes of wall and ceiling damage. A slow leak behind a shower, refrigerator line, washing machine connection, or bathroom vanity can affect drywall long before water becomes visible.
Monsoon storms can also expose roof, window, and exterior wall vulnerabilities. Even a small amount of water intrusion can stain a ceiling or cause joint tape to loosen. Once moisture reaches gypsum drywall, the material can lose strength. The decision to repair or replace depends on the extent of the damage, whether the drywall has dried completely, and whether mold or deterioration is present.
Settling and temperature changes may create hairline cracks around doors, windows, corners, and ceiling joints. Some are cosmetic. Others may need a closer look, especially if cracks are wide, diagonal, growing, or accompanied by doors that stick and uneven flooring. A responsible contractor does not treat every crack as the same problem.
Daily living causes plenty of damage as well. Moving furniture, active children, pets, wall-mounted televisions, and door impacts can leave dents, punctures, and torn paper facing. These repairs may seem minor, but a smooth finish takes patience. Poorly feathered joint compound or mismatched wall texture can make a repair more noticeable than the original damage.
What a Quality Drywall Repair Process Looks Like
A lasting repair is built in layers. First, the damaged area should be evaluated for the underlying cause. If there is active moisture, loose framing, damaged insulation, or a plumbing concern, those issues need to be addressed before the wall is closed and refinished.
Next, loose or compromised drywall is removed. For larger openings, a new drywall section is measured and installed with proper support behind it. The goal is a stable surface that sits flush with the surrounding wall, not a thin patch that may fail under normal use.
The seams are then taped and coated with joint compound. This stage often determines whether the repair disappears or remains visible. Multiple thin coats create a flatter transition than one heavy coat, and each coat needs adequate drying time before sanding and refinishing.
Texture matching comes next when the surrounding wall has orange peel, knockdown, skip trowel, or another finish. This is where experience matters. A patch can be structurally sound and still look out of place if the texture is too heavy, too smooth, or applied over an uneven surface.
Finally, the repaired area is primed and painted. Primer helps create an even surface for paint and prevents flashing, which is the difference in sheen that can appear when a patch absorbs paint differently than the existing wall. Exact paint matching depends on the age of the existing finish, sun exposure, and whether the original color is available. In some rooms, painting the full wall is the best way to achieve a consistent result.
DIY Patches vs. Professional Drywall Repairs
There is a place for DIY work. Filling a few nail holes before moving out or touching up a small scuff can be practical for a confident homeowner. The trade-off is that drywall finishing is less forgiving than it appears. Sanding too aggressively can damage the paper face, while insufficient sanding leaves ridges that become obvious under side lighting.
Professional drywall repairs are generally the better choice when there is water damage, a hole larger than a few inches, recurring cracks, ceiling damage, textured walls, or repairs in a highly visible room. They are also valuable when the project involves multiple trades, such as plumbing repair followed by drywall replacement, texture, and painting. One accountable contractor can coordinate the work, maintain a clear scope, and reduce the risk of unfinished details between trades.
For commercial spaces, timing and cleanliness are often just as important as the repair itself. A damaged wall in an office, retail space, or rental property may need to be repaired with minimal disruption to occupants and operations. Planning dust control, access, material staging, and paint drying time helps keep the project organized.
Why Details Matter After the Wall Is Fixed
The best drywall repair does not draw attention to itself. Straight corners, blended seams, consistent texture, and clean paint lines make the room feel complete again. Those details also matter when preparing a home for sale, refreshing a rental, completing a remodel, or maintaining a professional commercial environment.
It is worth asking what is included before work begins. A clear proposal should identify the damaged area, expected repair method, moisture or structural concerns that may require additional work, finish expectations, and whether painting is included. This level of communication helps prevent misunderstandings about color matching, texture blending, and the final appearance of the repaired surface.
D3 Construction LLC approaches repair work with the same care used for larger renovation projects: assess the condition, define the scope, complete the work with quality materials, and verify the result at final walkthrough. Licensed, bonded, and insured support gives property owners added confidence when a repair calls for more than a surface-level fix.
If a damaged wall has been bothering you every time you walk past it, do not assume the solution is only cosmetic. A thoughtful assessment can protect the surrounding space, restore the finish, and give you a wall that looks as dependable as the rest of your home or business.