
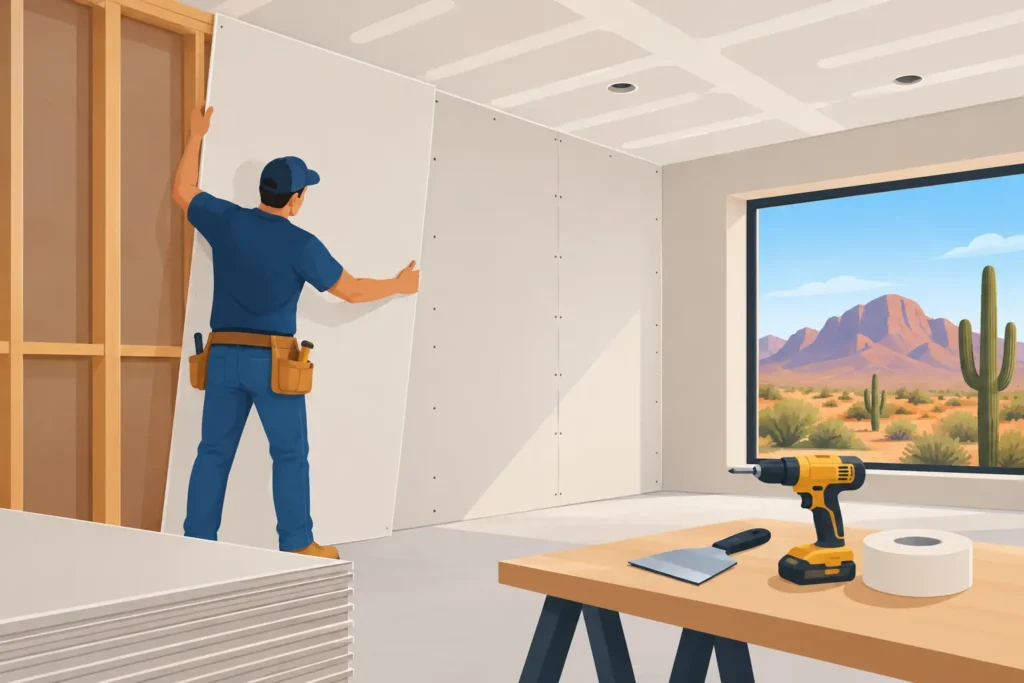
A new drywall surface can make a remodeled room feel finished, but the work behind that smooth wall matters just as much as the final coat of paint. This drywall installation guide explains what homeowners and property managers should expect from the process, where mistakes commonly occur, and when professional installation is the right investment.
Drywall is often treated as a simple finishing material. In reality, it affects the appearance, fire performance, sound control, and durability of an interior space. Whether you are repairing water-damaged walls, finishing a garage, updating an office, or remodeling a kitchen or bathroom, the right planning creates a cleaner result and fewer surprises during construction.
Start With the Wall Behind the Drywall
Drywall should not be installed until the framing and rough-in work are ready. Studs and ceiling joists need to be straight, properly spaced, and secure. Uneven framing can leave the finished wall with visible waves, even if the drywall seams and texture are completed carefully.
This is also the point to inspect plumbing, electrical wiring, low-voltage wiring, insulation, blocking, and any mechanical work inside the wall. Once drywall is hung, accessing these systems means opening the finished surface again. A careful contractor confirms that inspections are complete when required and that the wall cavity is ready to close.
In Mesa and throughout the East Valley, repairs often uncover hidden issues such as old water damage, cracks around openings, or framing altered during a previous renovation. Addressing those conditions before installing new board protects the value of the repair. Covering a problem is faster in the moment, but it rarely stays hidden for long.
Choose the Right Drywall for the Room
Standard half-inch drywall works well for many interior walls, but one board type does not fit every project. The location, framing, intended use, and local code requirements all influence the right choice.
Regular gypsum board is commonly used in dry living areas. Moisture-resistant drywall is a better fit for bathrooms, laundry rooms, and other humid spaces, though it is not a substitute for a proper shower backer board in wet areas. Fire-rated Type X drywall may be required between a garage and living space, around certain utility areas, or in commercial settings. Ceiling applications may require thicker board or closer framing to prevent sagging over time.
Sound-control assemblies are another consideration. A shared wall between bedrooms, a home office, or a commercial suite may benefit from mineral wool insulation, resilient channels, specialty sound-rated board, or additional layers of drywall. These upgrades add cost, and the best choice depends on how much sound reduction the space actually needs. A detailed proposal should explain where the added expense delivers a practical benefit.
Measure, Order, and Stage Materials Carefully
Accurate measurements reduce waste and help keep seams out of highly visible areas. Drywall sheets are available in several lengths, and longer sheets can reduce the number of joints on a wall or ceiling. They are also heavier and more difficult to maneuver, especially in smaller rooms, hallways, or furnished properties.
Material planning includes more than gypsum board. A complete drywall scope may require screws, joint compound, paper or fiberglass tape, corner bead, trim bead, access panels, patch materials, primer, texture supplies, and protection for flooring and nearby finishes. In a remodel, the crew also needs a plan for dust containment, debris removal, and safe access through the home or business.
For occupied properties, staging matters. Moving full sheets through a tight hallway can damage door casings, flooring, or furniture if the work area is not protected. Professional planning keeps the project organized before materials arrive, rather than asking the client to solve access and storage issues on installation day.
Drywall Installation Guide: Hanging the Boards
Drywall installation begins with ceilings when both ceilings and walls are being covered. Hanging ceiling board first allows the wall sheets to support its edges. Lifts make this work safer and more precise, particularly with larger sheets or elevated ceilings.
On walls, installers generally hang sheets horizontally when practical. This can reduce the number of horizontal seams and places tapered factory edges where they are easier to finish. Boards should fit snugly without being forced into place. A small gap at the floor is normal because baseboards will cover it and the board should not sit directly on a potentially damp slab.
Fasteners must be set at the correct depth. A screw head should create a slight dimple that can be filled with compound, but it should not tear through the face paper. Broken paper weakens the hold and can lead to loose spots. Fastener spacing, edge support, and the use of adhesive where appropriate should follow the board manufacturer’s instructions and applicable code.
Openings for doors, windows, outlets, and fixtures need special attention. Seams should not run from the corner of a door or window opening, where movement can concentrate stress and cause cracks. Cutting boards in a way that keeps joints away from these corners produces a stronger, better-looking wall.
Finishing Is Where Quality Shows
A wall can be hung correctly and still look poor if the finishing work is rushed. Taping and mudding build a gradual transition over every seam, corner, and fastener so the surface appears flat after painting. This usually involves multiple coats of joint compound, with drying time and sanding between coats.
Paper tape is often preferred for flat seams and inside corners because it creates a strong bond when embedded correctly. Fiberglass mesh tape can be useful for certain repairs, but it requires the right compound and technique to avoid future cracking. Outside corners need corner bead, selected based on the corner type, expected wear, and desired finish.
Lighting reveals drywall flaws. Side lighting from windows, recessed fixtures, or wall sconces can expose ridges, shallow seams, and uneven textures that are difficult to see under work lights. For that reason, final sanding and inspection should happen under lighting conditions similar to how the room will be used.
Texture is a design and repair decision, not an afterthought. Smooth walls provide a clean, contemporary look but require a higher level of finishing. Orange peel, knockdown, and other textures can help blend with existing walls and make minor surface variation less visible. Matching a patch to an older texture can be more challenging than installing drywall itself, particularly when the existing finish has years of paint layers.
Prime Before Painting
Fresh drywall and joint compound absorb paint differently. Primer seals the surface, creates a consistent base, and helps the finish coat show its intended color and sheen. Skipping primer can leave flashing, where seams and patched areas appear different from the surrounding wall under certain light.
Before paint begins, inspect the walls at close range and from across the room. Look for nail pops, visible tape edges, cracks, dents, or missed sanding marks. This is the easiest time to correct small issues. After paint, repairs often require additional touch-up and can disrupt an otherwise completed room.
When a Professional Contractor Makes Sense
Small nail holes and minor dings are realistic do-it-yourself repairs. Larger projects become more complex when they involve ceilings, multiple rooms, moisture damage, fire-rated assemblies, electrical changes, permits, or a finish that must match the rest of the property.
A licensed, bonded, and insured contractor brings coordination to the work. That includes assessing the cause of damage, determining whether framing or insulation needs attention, managing qualified trades when needed, protecting the property, and setting clear expectations for the final finish. For commercial spaces, professional scheduling also helps reduce disruption to tenants, staff, and customers.
D3 Construction approaches drywall work as part of the larger condition of the property, not simply as a surface repair. A clear scope, material recommendations, and final walkthrough give homeowners and property managers a way to make informed decisions before walls are closed and finishes are applied.
A well-finished wall should disappear into the room. If you are planning drywall installation or repair, begin with a careful site assessment and a clear conversation about the room’s use, existing conditions, and finish expectations. That early attention is what turns new board and joint compound into a result that looks right for years.