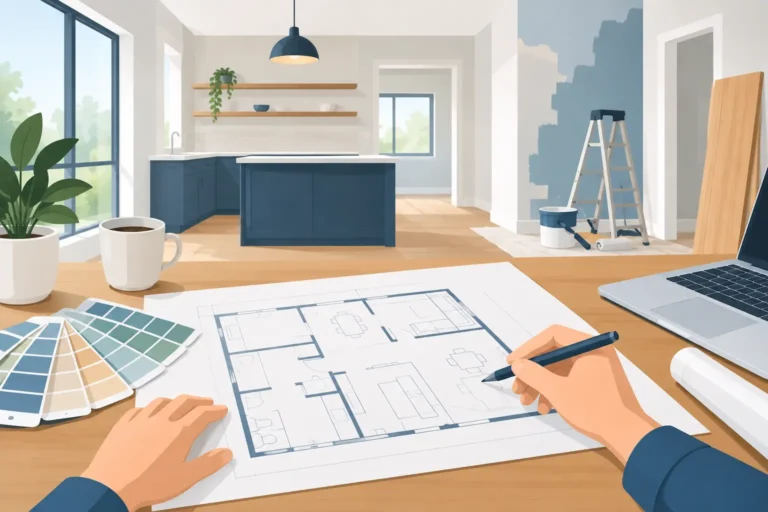

Building Permit Process Guide for Mesa Remodels
A beautiful new kitchen or bathroom can lose momentum quickly when permit requirements are treated as an afterthought. This building permit process guide explains what Mesa-area homeowners and commercial property owners should expect, what affects the timeline, and how professional planning helps protect the work behind the walls as much as the finishes you see every day.
Permits are not simply paperwork. They create an official review and inspection path for work that can affect structural safety, electrical systems, plumbing, mechanical equipment, drainage, fire protection, and occupancy. When the scope is properly documented before construction begins, the project has a clearer route from design decisions to final approval.
When Does a Remodeling Project Need a Permit?
The answer depends on the project scope and the jurisdiction where the property is located. Mesa, Phoenix, Gilbert, Chandler, Tempe, Scottsdale, Apache Junction, and unincorporated Maricopa County areas may follow different procedures. A permit requirement can also change based on the age of the building, the property type, and whether the work alters an existing system.
Cosmetic improvements such as interior painting, new flooring, cabinet replacement in the same layout, or minor finish updates may not require a permit. However, a project often requires review when it includes moving walls, changing a roofline, adding square footage, altering load-bearing framing, relocating plumbing, installing new electrical circuits, replacing or rerouting ductwork, or modifying a commercial space.
A bathroom remodel is a good example. New tile and a vanity may be straightforward, but moving a shower drain, adding recessed lighting, relocating outlets, or changing ventilation can trigger plumbing, electrical, and mechanical permits. The same is true in a kitchen, where a new island can require electrical work and a layout change may involve plumbing, gas, or structural considerations.
Do not rely on a neighbor’s recent project as proof that your work needs the same approval. Similar homes can have different conditions, and local rules change. A site assessment and a clearly defined scope are the best starting point.
Building Permit Process Guide: The Steps That Matter
A well-managed permit process begins before an application is submitted. The goal is to identify the work accurately, prepare plans that match the intended construction, and avoid surprises after demolition begins.
1. Define the scope before choosing finishes
Start with the functional changes you want to make. Is the goal a more open kitchen, an accessible bathroom, a repaired ceiling after water damage, or a commercial interior built for a new use? Describe what is changing, what is staying, and what performance concerns need to be addressed.
This is also the right time to discuss budget. Permitting costs are only one part of the picture. Engineering, architectural drawings, plan revisions, specialty inspections, and required upgrades can affect the overall investment. A detailed proposal should separate the known scope from allowances or conditions that may require further review.
2. Assess the property and existing conditions
Existing buildings rarely reveal every condition from a walk-through alone. Older homes may have undersized electrical panels, unpermitted past work, damaged framing, outdated plumbing materials, or insufficient ventilation. Commercial spaces may also have accessibility, fire, parking, occupancy, and restroom requirements tied to the intended use.
A careful contractor evaluates the site before promising a schedule. That assessment helps determine whether plans, engineering, measurements, photos, product specifications, or trade input are needed before permit documents can be completed.
3. Prepare plans and supporting documents
The level of detail should match the project. A small repair may require limited documentation, while an addition, structural modification, tenant improvement, or major whole-home remodel may need architectural plans and engineered details.
Permit submittals commonly include the project address, legal property information, scope description, site plan when applicable, floor plan, elevations, structural details, and trade information. The permitting authority may also request energy documentation, drainage information, product approvals, or calculations for specialized work.
Plans should show what will actually be built. If the homeowner changes the kitchen layout after approval, or a field condition requires a different beam, the project may need a revision. Early decisions on layout, windows, fixtures, appliances, and mechanical equipment reduce the risk of mid-project changes.
4. Submit for review and respond to corrections
Once the application and documents are submitted, the local jurisdiction reviews them for code compliance. Review times vary. A simple permit may move quickly, while projects requiring multiple disciplines or corrections can take longer. Work volume at the city, completeness of the submittal, and the complexity of the design all matter.
A correction notice is not a sign that the project has failed. It means the reviewer needs clarification or a revision before approval. Common issues include incomplete drawings, missing structural information, unclear electrical details, incomplete energy forms, or inconsistencies between the plans and application.
The practical response is to address corrections promptly and accurately. Rushed or partial responses can create another review cycle. Clear communication among the property owner, contractor, designer, and any engineers keeps the process moving.
5. Post the permit and schedule inspections
After approval, the permit generally needs to be available at the job site. Construction can then proceed according to the approved plans, with inspections scheduled at specific stages. The exact sequence depends on the work, but inspections often happen before concrete is placed, after rough framing, during rough plumbing and electrical work, after insulation, and at final completion.
Inspections are checkpoints, not obstacles. They confirm that concealed work meets the approved standard before drywall, flooring, cabinetry, or other finishes cover it. Passing an inspection protects the owner by creating a record that key components were reviewed.
For occupied homes and businesses, inspection coordination matters. Access needs to be arranged, work areas kept safe, and the schedule built around the inspector’s availability. A contractor should communicate what is needed before each inspection so the project does not lose time over an avoidable issue.
What Can Delay Permit Approval or Inspections?
Some delays are outside anyone’s control, including high municipal review volume. Many, however, can be reduced through stronger planning. The most common preventable issues are incomplete applications, plans that do not match the scope, late design changes, missing engineering, unaddressed correction notices, and work completed before the required inspection.
Material selection can also affect the schedule. A specified window, door, roof product, HVAC unit, or plumbing fixture may require documentation that confirms code compliance. Choosing products late can force a redesign or create an inspection issue. For this reason, design choices should be coordinated with the approved plans rather than treated as purely decorative decisions.
Commercial projects deserve additional lead time. A tenant improvement may involve building, electrical, plumbing, mechanical, fire, accessibility, and zoning review. The property manager, tenant, and contractor should agree early on who is responsible for landlord approvals, utility coordination, plan review fees, and access to the space.
Homeowner Responsibilities During the Permit Process
A qualified contractor can manage the planning, application, and inspection process, but the property owner still plays a meaningful role. Owners should provide accurate property information, make timely decisions, review plans before they are submitted, and disclose known issues such as prior additions, water damage, or easement concerns.
Before authorizing work, ask who will pull the permit, which trade permits are included, what inspections are anticipated, and how corrections or plan revisions will be handled. You should also confirm that the contractor is licensed, bonded, and insured for the work being performed. A low bid that excludes permitting, documentation, or necessary upgrades may not be the better value once the full scope becomes clear.
Keep copies of approved plans, permits, inspection records, invoices, warranties, and final approvals. These documents can be useful for future maintenance, insurance questions, refinancing, or a later sale of the property.
Why Professional Permit Management Protects Your Project
Permitting is most effective when it is part of the construction plan, not a separate task handed off at the last minute. The contractor coordinating the work needs to understand the design intent, existing conditions, trade sequencing, inspection milestones, and quality expectations.
That coordination is especially valuable for remodeling, where hidden conditions can require practical decisions. If a wall opened during demolition contains unexpected framing or plumbing, the right next step depends on the approved plans, the code requirements, and the desired finished result. Clear documentation and direct communication make those decisions easier to manage without losing sight of budget or workmanship.
At D3 Construction LLC, planning and permitting are handled as part of a customer-guided construction process, with the goal of keeping homeowners and property stakeholders informed from site assessment through final walkthrough. The best time to discuss permits is at the first project conversation, before a fixed design, schedule, or material order creates unnecessary pressure.
A permit may feel like one more item on a remodeling checklist, but it is also a practical safeguard for your investment. Begin with a clear scope, choose a contractor who communicates the process plainly, and give the planning stage the attention your finished space deserves.